
Welcome back to a Faux Neon Friday. I am sorry that I have been absent, but trying to prepare for a new catalog and deal with the end of the month at work as kept me really busy!
I have 2 cards for you today using product from the new 2017-2018 Stampin' Up! Annual Catalog. If you are a VIP customer, you should have received yours by now. If you would like a copy, click here.
I have a super simple card for you today and then one that's a little more involved. I really love how they both turned out even if they didn't go exactly as planned!
For the first card, I paired the Eastern Medallions Thinlits with the Happy Birthday, Gorgeous stamp set to create a really fun medallion.

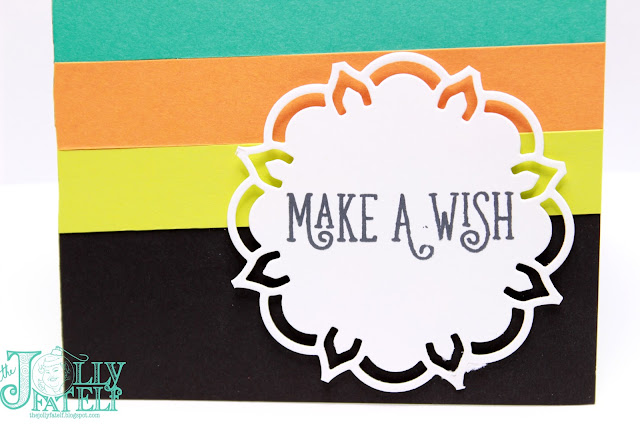
You will need a circle die to cut out the medallion. The medallion die only cuts the pattern. It does not cut around itself. I made a boo boo while cutting mine out and that's why I ended up cutting the surrounding edge off. You'll see what I mean in the video.

The strips of card stock are cut at 1/2 x 4 1/4. They were meant to be straight, but if you know me, you know that I am crooked as heck and nothing is ever really straight with me! I really love how simple, but graphic this card is! I love it and I hope you do as well.
For the next card, I knew that I wanted a black flower with the colors peeking out from behind. I started by using washi tape to adhere the outer die and the inner die together so I could cut 5 of these flowers. Once the flowers were cut, I used the outer die to cut the 5 pieces of colored card stock.


Thanks so much for stopping by today! I hope you enjoyed these two cards. Check out my monthly promotions and the how to videos below.
- June Code: 9ZT7WH2N Use this code on purchases under $150
- In-Color Bundles
- Hostess Code Gifts
- Thank You Gift: Place a $50 order and receive a package of the new Sequins and an exclusive Shaker Card Tutorial. Place a $75 order and receive a free $7 roll of ribbon. Place an order of $100 or more and receive both promotions!
- Paper Pumpkin: Sign Up by June 10th for 25% off your first 3 kits. *New Paper Pumpkin Customers Only*
The BEST Deal around is the starter kit!
Only 99.00 and you get to choose 125.00 of product of YOUR choice
*FREE SHIPPING
*FREE Paper Pumpkin Kit
*FREE Catalogs
*20% off orders
*FREE access to The Craftin' Elves Facebook Group
*ALL my online classes for FREE! *You'll get to be a part of the Craftin' Elves!...
Whether you want to be a Hobby Demo for the awesome discount or a Business Builder who wants to grow a paper crafting business, I would love to have you join my little family of stampers!

Product List


Product List


No comments:
Post a Comment
I love to read your comments and feedback! Thank you for sharing your thoughts with me :)